
adventures in android flashing part 1
by weekend
In this first part I will simply install Lineage OS, and then attempt to build my own kernel without modifications.
Mostly I’ll simply be following the documentation, so I will only describes some notes on deviations or weird warnings.
First install
I will simply follow the steps described by Lineage OS for my device.
The very first requirement is unlocking the bootloader. Make sure you have backups as this will remove all your data.
Motorola allows you to unlock your bootloader without any dirty hacks, and to do so they first make you read a bunch of warnings and then you can continue. Make sure to first go into developer settings and allow your bootloader to be overwritten, after that just follow the steps provided.
Continuing with the steps, while flashing the new custom recovery (TWRP) it might complain and claim that it failed.. but it actually succeeds. Thats the magic of android at work!
After that we can install Lineage OS, again it is very straightforward if you follow the steps. In my case I also installed google apps and the official su add-on (doing this before the first boot!).
Be patient, the first boot takes longer than the entire install procedure.
Building Lineage OS
by weekend
We don’t just want to install lineage OS, we want to build it ourselves and tweak it to our liking! Specifically, we want to tweak the kernel to our liking. So lets get setup to build Lineage OS.
We’re simply going to be following the provided instructions. I already had adb and fastboot installed from.. some other time? So lets not dwell on that part. In fact a lot of things were already installed on my system, and since you can just look at the instructions I’m not going to go over any of the requirements.
We should note that currently for our motorola G4 the supported lineage OS version is 14.1, and that the 14.1 branch is called CM14.1 because I guess that was around the time they became lineage OS.
So we go to our directory where we want to play with all this code (~/Code/android/lineage for me) and use the repo tool to fetch the proper branch.
cd ~/Code/android/lineage
repo init -u https://github.com/LineageOS/android.git -b cm-14.1
Answer some questions and start the download of the code with
repo sync
This part is going to take FOREVER. But we’ll do it this way as thats how the documentation explains it, and because there could be so many hidden dependencies that we don’t just want to grab our device specific repo and try building that.
After it is finally synced we can get on to the real part, breakfast.
source build/envsetup.sh
breakfast athene
This will probably fail, because it needs the proprietary blobs. And the instructions will advise you got run their ./extract-files.sh script…
What they’re not allowed to tell you is that that script may or may not work properly and that most people don’t use it, what we’re going to do is simply get the blobs from a 3rd party.
We do this edditing .repo/local_manifests/roomservice.xml and adding the following line:
<project name="TheMuppets/proprietary_vendor_motorola" path="vendor/motorola" depth="1" />
Then we do repo sync again. This time it won’t take as long. And it’ll fetch all the proper blobs and put them in the correct place (in ./vendor/). At first I thought I also needed the qualcomm proprietary blobs but those are depreciated and if you look at the list of files for our system you’ll see those are all (except for one?) included in the motorola repository.
Finally we are ready to begin. Again we run:
breakfast athene
Ignore the thing about ‘Dependencies file not found, bailing out.’ It seems to always say that.. and theres no actual errors that it’d complain loudly about (and even if this wasn’t the case, we’re only interested in the kernel, not a full build).
After this we again just follow the instructions and run:
export USE_CCACHE=1
ccache -M 75G
export ANDROID_JACK_VM_ARGS="-Dfile.encoding=UTF-8 -XX:+TieredCompilation -Xmx6G"
I’m not sure if the JACK related stuff is still required, it is my understanding android has/is moving to a different build system, but it doesn’t hurt to add it. I set mine to be limited to 6GB of ram, maybe more could have sped things up a bit more, and at the moment (late at night) I had totally forgotten that I have 16GB of ram available..
And then start the build with:
croot
brunch athene
This will, again, take forever. But at the end you should be greeted with something like:
[100% 35539/35539] build bacon
Package Complete: /home/weekend/Code/android/lineage/out/target/product/athene/lineage-14.1-20180424-UNOFFICIAL-athene.zip
make: Leaving directory '/home/weekend/Code/android/lineage'

#### make completed successfully (01:17:23 (hh:mm:ss)) ####
We now have our self build, default, Lineage OS.
Flashing new kernel
Now that we have our new build, we want to grab its kernel and see if it works. Since we plan on using nethunter, we’ll use their tools to generate the proper package and ensure that part works.
We start by cloning their repo somewhere convenient and then move to the nethunter-installer directory. We run the ./bootstrap.sh command and answer some questions. In my case I want the experimental devices, and I want to use ssh.
This will clone the experimental branch of the nethunter-devices repo in the devices subfolder. In this sub directory we will add our device. I simply added the following to the devices.cfg file:
# Motorola moto G4 / G4 Plus
[athenecm]
author = "wknd"
version = "1.0"
kernelstring = "NetHunter Kernel For Moto G4"
arch = armhf
block = /dev/block/bootdevice/by-name/boot
We also copy our kernel image into the devices/nougat/athenecm/ folder. Our image can be found in ~/Code/android/lineage/out/target/product/athene/obj/KERNEL_OBJ/arch/arm/boot and we’ll want to take the zImage or else it won’t fit on the boot partition.
Now our device is added we can build the package. We build the zip with just the kernel using:
python build.py -d athenecm --nougat -k
Put this zip file on your phone, go into recovery, and install it.
by weekend
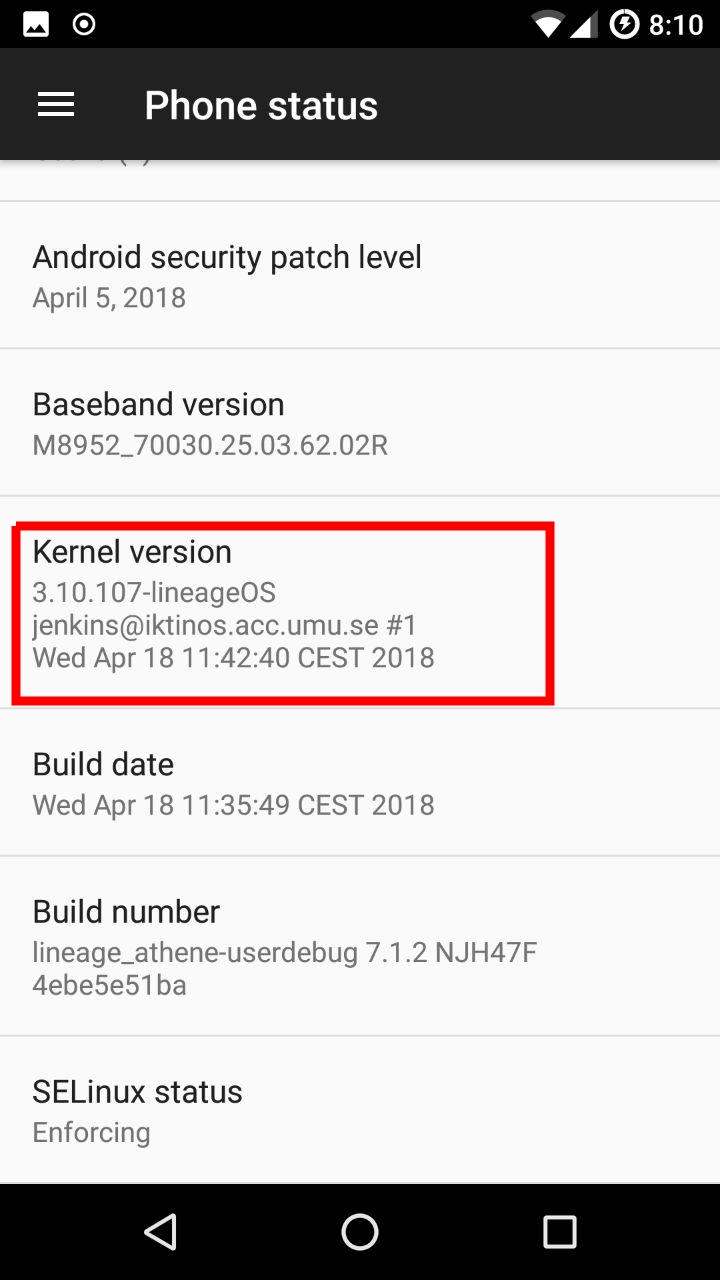
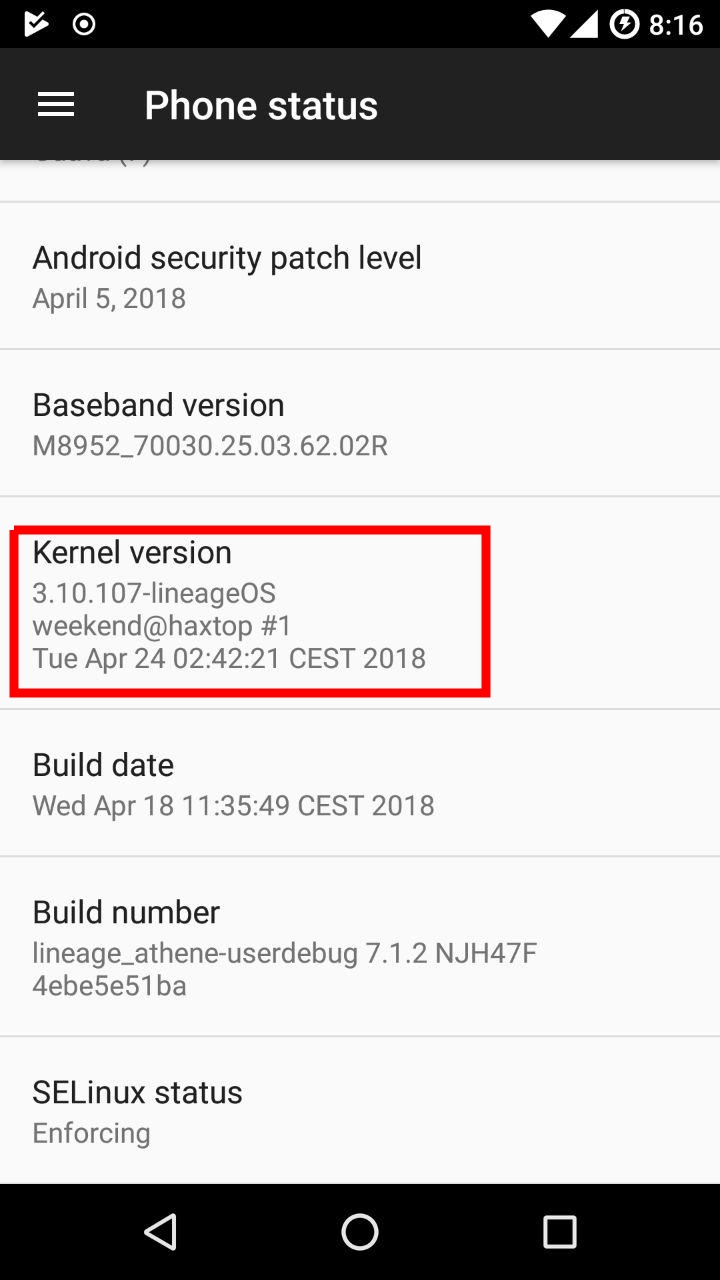
It shouldn’t complain, and after a reboot your phone should function just as before (we didn’t change any kernel settings yet after all). And as you can see in the screenshot, the kernel really did change!
Next up is the tricky part of tweaking the kernel so we gain some useful functionality.